
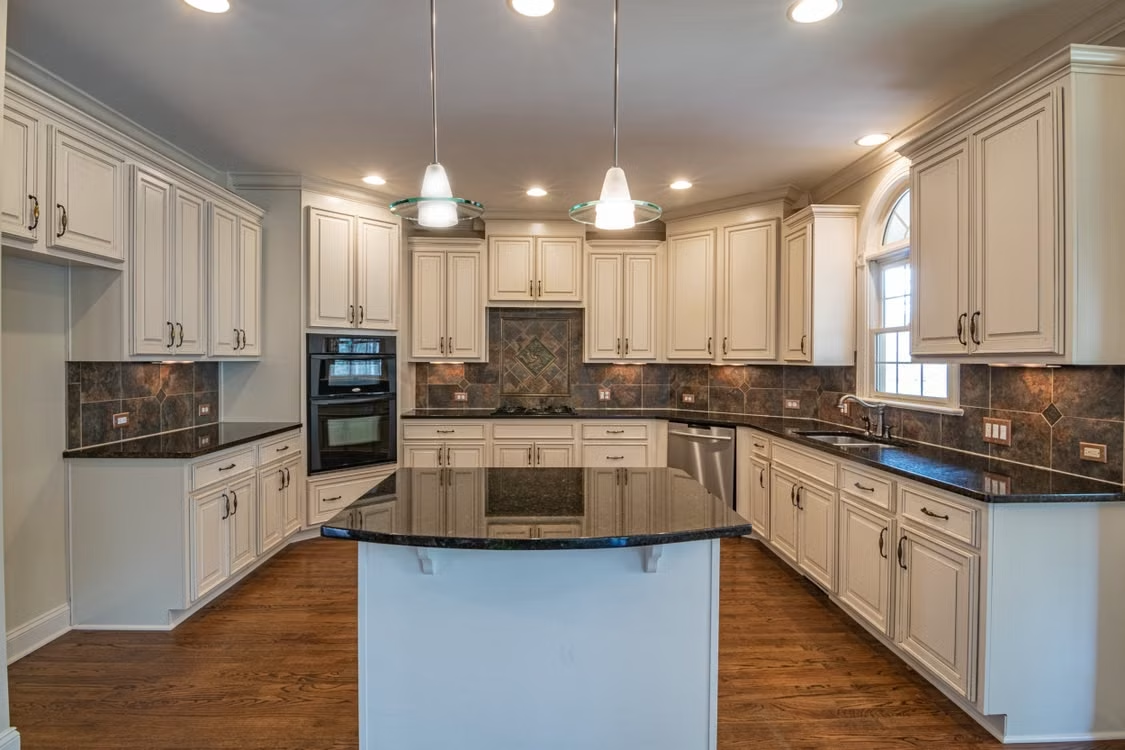
Ready to tear apart the busiest room in the house? Every kitchen remodel looks good on a mood board. Then comes demo day. The fridge lives in the hallway. Good plates are stacked on the couch. Dinner is served on a folding table.
That’s the moment most homeowners realise the design was the easy part.
Here’s the good news…
Plan. If you have a solid moving/storage plan, things will stay relatively organized, your crew will continue working, and nothing good will get broken.
What you’ll walk away with:
- How Long The Kitchen Chaos Really Lasts
- Moving And Storage Plans That Save The Project
- Handling Appliances Without Wrecking Them
- Cabinetry, Counters And The Fragile Stuff
- Everyday Essentials Worth Keeping Close
How Long Will The Chaos Really Last?
Most people budget the money. Very few budget the time.
Kitchen renovations take the longest of any room in the house. According to Houzz research, kitchens have 5.8 months of construction on average, not including a planning phase that takes even longer. You’ll probably be without your kitchen for several weeks even if you are just doing a cosmetic update.
That’s a lot of breakfasts, packed lunches and late dinners to plan around.
Neither does the cost factor. Kitchen renovations now average a median cost of $55,000 nationally. If you’re sinking that much cash into your kitchen, that scratched-up refrigerator or that warped cabinet door is no longer a minor nuisance. It’s a repair bill.
Okay. So the plan is easy. Pack everything out. Store it safely. Keep daily necessities accessible.
Moving And Storage: The Step Nearly Everyone Skips
The kitchen has more stuff in it than any other room. Cookware, small appliances, pantry items, glassware, and that weird drawer nobody knows what’s in.
Here’s the thing…
Contractors want clutter-free floors and walls. Whatever gets left behind ends up stuffed in the dining room, garage or spare bedroom and then becomes clutter for months.
That’s why your moving and storage plan needs to be on your schedule before demolition occurs, not after. Renting a nearby unit with convenient access keeps your boxes out of the living room while still being reachable if you need a roasting pan for a birthday dinner. Drive up units are ideal for kitchen loads in particular, because moving a stand mixer and a dozen boxes of dishes is far easier when your vehicle can park at the door.
Start by sorting everything into four piles:
- Daily: kettle, coffee gear, a few plates, cutlery, one pot
- Occasional: baking trays, serving dishes, spare glassware
- Not until the reveal: wedding china, seasonal platters, bulk appliances
- Gone: chipped mugs, dead gadgets, expired pantry stock
You keep just the first pile in the house. Store everything else. You clear your living space and drastically reduce risk of dust damage.
Handling Appliances Without Wrecking Them
Appliances are the largest, most costly and cumbersome products of the entire project. They also lead to the most disagreements.
Disconnect whatever is being salvaged. Gas lines and hard wired ovens require a licensed professional, not an over confident weekend warrior. If possible, water lines to fridge’s and dishwashers should be turned off and drained. If not you’ll have a slow leak stealthily destroying your new subfloor.
Before anything gets moved:
- Empty and defrost the fridge and freezer at least a day early
- Tape doors shut and secure loose shelves or racks
- Keep the fridge upright during transport to protect the compressor
- Bag the screws, brackets and manuals and label them clearly
- Photograph every connection before it comes apart
Appliances should be clean and thoroughly dry before storing. Moisture left in a closed refrigerator will develop mould in approximately one week. You don’t want to find that when you go to install it.
Whatever is being replaced can be sold or donated prior to demo rather than after. Junk units remaining on the driveway tend to become a very expensive garbage issue.
Cabinetry, Counters And The Fragile Stuff
Cabinetry is where budgets go to die so care should be taken on both ends of the project.
Remove any existing cabinets from the walls (if they will be reused/refaced elsewhere). Wrap cabinets in blankets or moving pads. Remove cabinet doors and drawer fronts, label them, and stack them flat with padding between each door/drawer front. Place hinges/handles in labeled bags and tape to corresponding door.
Fresh cabinetry usually shows up long before installation crew can tackle it. Somewhere clean, dry and stable must house that delivery.
Never store cabinetry in:
- A damp garage or basement
- An unheated shed
- Direct sunlight near a window
Wood expands. Veneer peels and doors buckle. Climate control keeps thousands at your delivery center from becoming thousands in your replacement center.
Cut offs from countertops, tile, backsplash panels and even light fixtures all require similar care. Stone is best stored on edge instead of flat. When laying horizontally a slab can crack under its own weight.
Everyday Essentials Worth Keeping Close
Living without a kitchen for months is entirely doable. It just needs a plan.
Create a pop-up kitchen somewhere else in the house, preferably near water. Bathroom sink = dishwashing; laundry counter/sturdy table = prep area. Stock it only with the necessities. Clutter from kitchen = clutter everywhere.
A workable temporary kitchen needs:
- A microwave, kettle and toaster oven or air fryer
- A mini fridge or a cooler with ice packs
- Paper plates and a small tub of real cutlery
- A dish tub, drying rack and rubbish bin
- One good knife and one chopping board
Storage is another factor here. Built-ins are being added by homeowners like never before and pantry cabinets are at the top of the list at 47%. That typically means items currently stored in the pantry need another place to reside for the project’s duration.
Dry goods, bulk purchases and anything else shelf-stable can transfer along with the rest of your stuff. Keep one empty tub designated for daily food use in your temporary kitchen and rotate it.
Dust gets everywhere. Seal off doorways with plastic sheeting, use an air purifier and cover soft furnishings.
Bringing It All Together
Kitchen remodeling is unavoidably inconvenient, but the chaos can be minimized when as much planning goes into logistics as tile options.
To recap the survival plan:
- Sort the kitchen into daily, occasional, stored and donated
- Book moving and storage before demolition starts
- Disconnect appliances properly and store them clean and dry
- Protect cabinetry and stone from damp, heat and sunlight
- Build a temporary kitchen with the essentials only
Do five things right and your project will turn into an inconvenience instead of a home catastrophe. Your new kitchen will be worth the wait.